get-started

Welcome To myWaves: Getting Started Guide

Begin your journey to better sleep with MyWaves. This guide will walk you through every step of setting up your device, understanding its features, and maximizing its benefits. Let’s get started on improving your sleep, one wave at a time!

MyWaves Quick-Start Navigator

Get started with our guided video

Our team has put together a video for you to easily follow and get your personalized sound as soon as possible.

Incase you prefer it, our detailed guide below will also guide you step by step from your first reading to receiving your personlized myWaves.

What’s in the Box

  • myWaves Pebble
  • Adhesive Pads in silver foil pouch (One time use)
  • USB-C to USB-C Cable
  • Welcome Card showing what each Light color indicates
  • Light indication card 
  • Subscription card 
  • Gift subscription card 
  • Paper Card Welcoming you as a new user and shows where to find all instructions.

Your myWaves Pebble

Function: This pad attaches to the Pebble and adheres to your forehead to hold the device in place during sleep. It ensures the Pebble stays secure for accurate data recording. (One Time Use)

Function: This port is used for charging the Pebble. Connect the provided USB-C cable here and plug the other end into a power source to charge the device.

Function: Used to turn the Pebble on and off. A short press activates the device, indicated by a light signal, and starts the sleep recording process.

Function: These connectors secure the adhesive pad to the Pebble. They ensure a firm connection so that the pad doesn’t detach during sleep, maintaining consistent data capture

Note: Please be aware that not all cables are capable of transferring files.

Locating Your Subscription Codes

  1. Locate the Zipper Case: Start by finding the zipper case that came with your myWaves product.
  2. Open the Left Pouch: Unzip the case and look inside. On the left side, you’ll find a pouch.
  3. Retrieve the Codes: Inside this left pouch, you will find your subscription codes. They are securely placed to ensure they are not misplaced during shipping.
 

Pebble Charging Lights Indicators

Using Your myWaves Pebble

Charging Your Pebble 

Understanding the Charging Process:

  1. Connect your myWaves Pebble to a power source using the provided USB-C cable.
  2. The Pebble will show a Red Light when charging. When fully charged, the light will turn Green. If charging via a computer, the lights will show Blue/Red and then change to Blue/Green upon full charge.

Troubleshooting: If your Pebble doesn’t charge properly, try a different power source or cable. If issues persist, consult the troubleshooting guide or contact customer support.
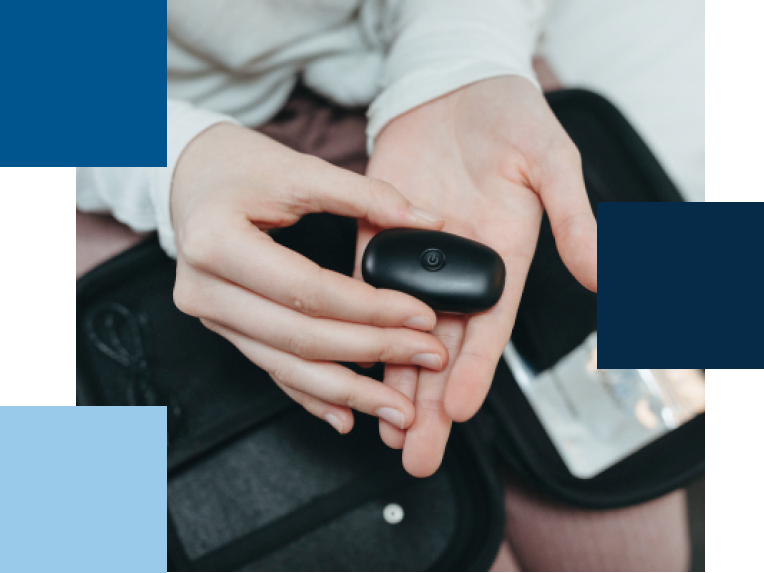
Attaching the Adhesive Pad

Securing the Pebble for Accurate Recording:

  1. Attach the adhesive pad to your Pebble. For visual assistance, refer to the provided diagram or video tutorial link.
  2. The five buttons need to connect firmly with the adhesive pad to ensure stable data transmission.
  3. A white light on the Pebble indicates an improper connection. In such cases, reattach ensuring a secure fit.

Placement on Your Forehead

Optimizing Device Position:

  1. Clean your forehead to ensure it’s free of oil, makeup, and hair for optimal device adhesion.
  2. Remove the plastic protective film from the adhesive pad and place the Pebble horizontally across the center of your forehead.
  3. The forehead is chosen for its proximity to the brain’s frontal lobe, aiding in accurate data capture. Adjust the placement for comfort, especially if you are a side sleeper.

Recording Sleep Information

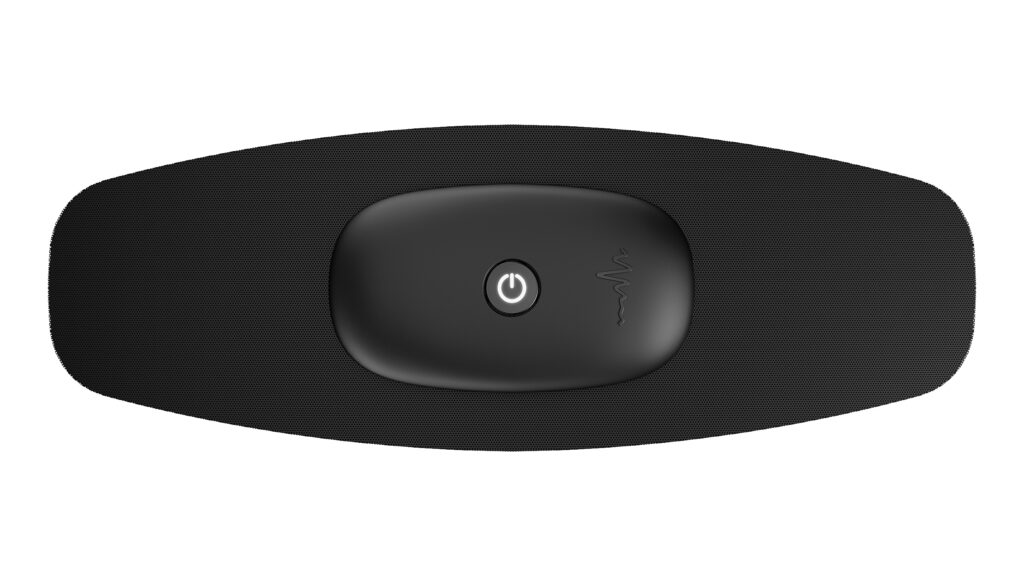
Capturing Essential Sleep Data:
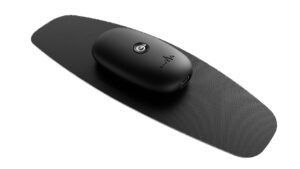
  1. Press the power button on the Pebble for up to three seconds. A flashing green light followed by a steady green pulse indicates recording initiation.
  2. The Pebble is designed to record various data during sleep, such as brainwaves and movement.

FAQs: For concerns about using the device during sleep, especially for active sleepers, refer to the dedicated FAQ section.
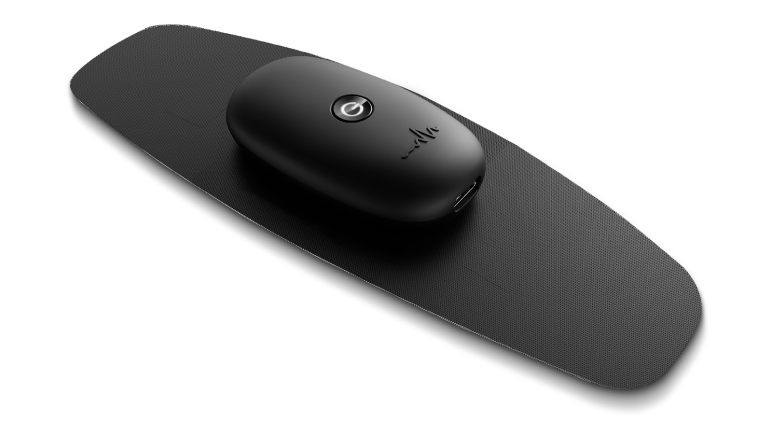
Uploading Your Sleep Recording

Transferring and Analyzing Your Sleep Data:

  1. After waking up, disconnect the Pebble and remove the adhesive pad. The device will automatically turn off after recording.
  2. Connect the Pebble to your computer and follow the instructions to upload your sleep recording.

For any uploading issues, consult the troubleshooting guide provided on our website.

Using Personalized Sleep Sounds

Enhancing Your Sleep Experience:

  • Your recorded sleep data is used to generate personalized sleep sounds, tailored to improve your sleep quality.
  • For optimal experience, adjust the volume and settings as per your comfort. Detailed guidance is available on our website.
  • Listen to these sounds through the provided Bluetooth headband or any compatible device or speaker.

Re-recording Your Sleep

Maintaining Updated Sleep Profiles:

To account for changes in your sleep patterns, re-record your sleep every four to twelve weeks.
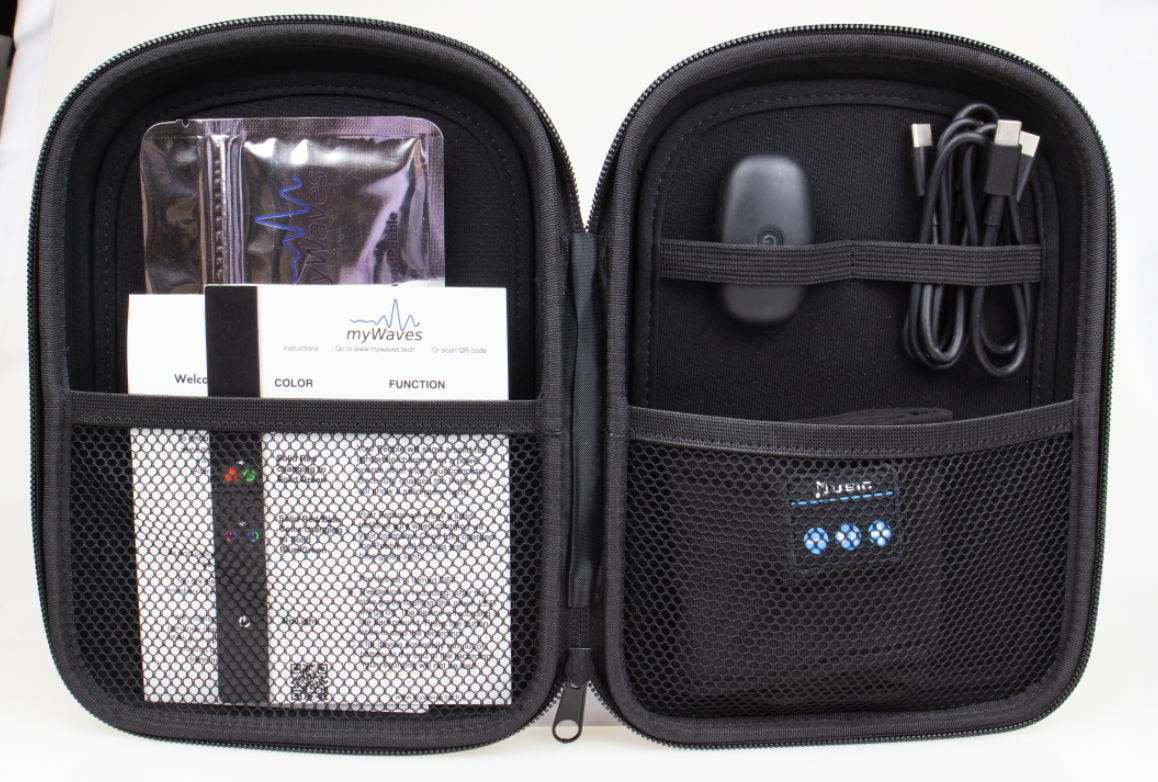
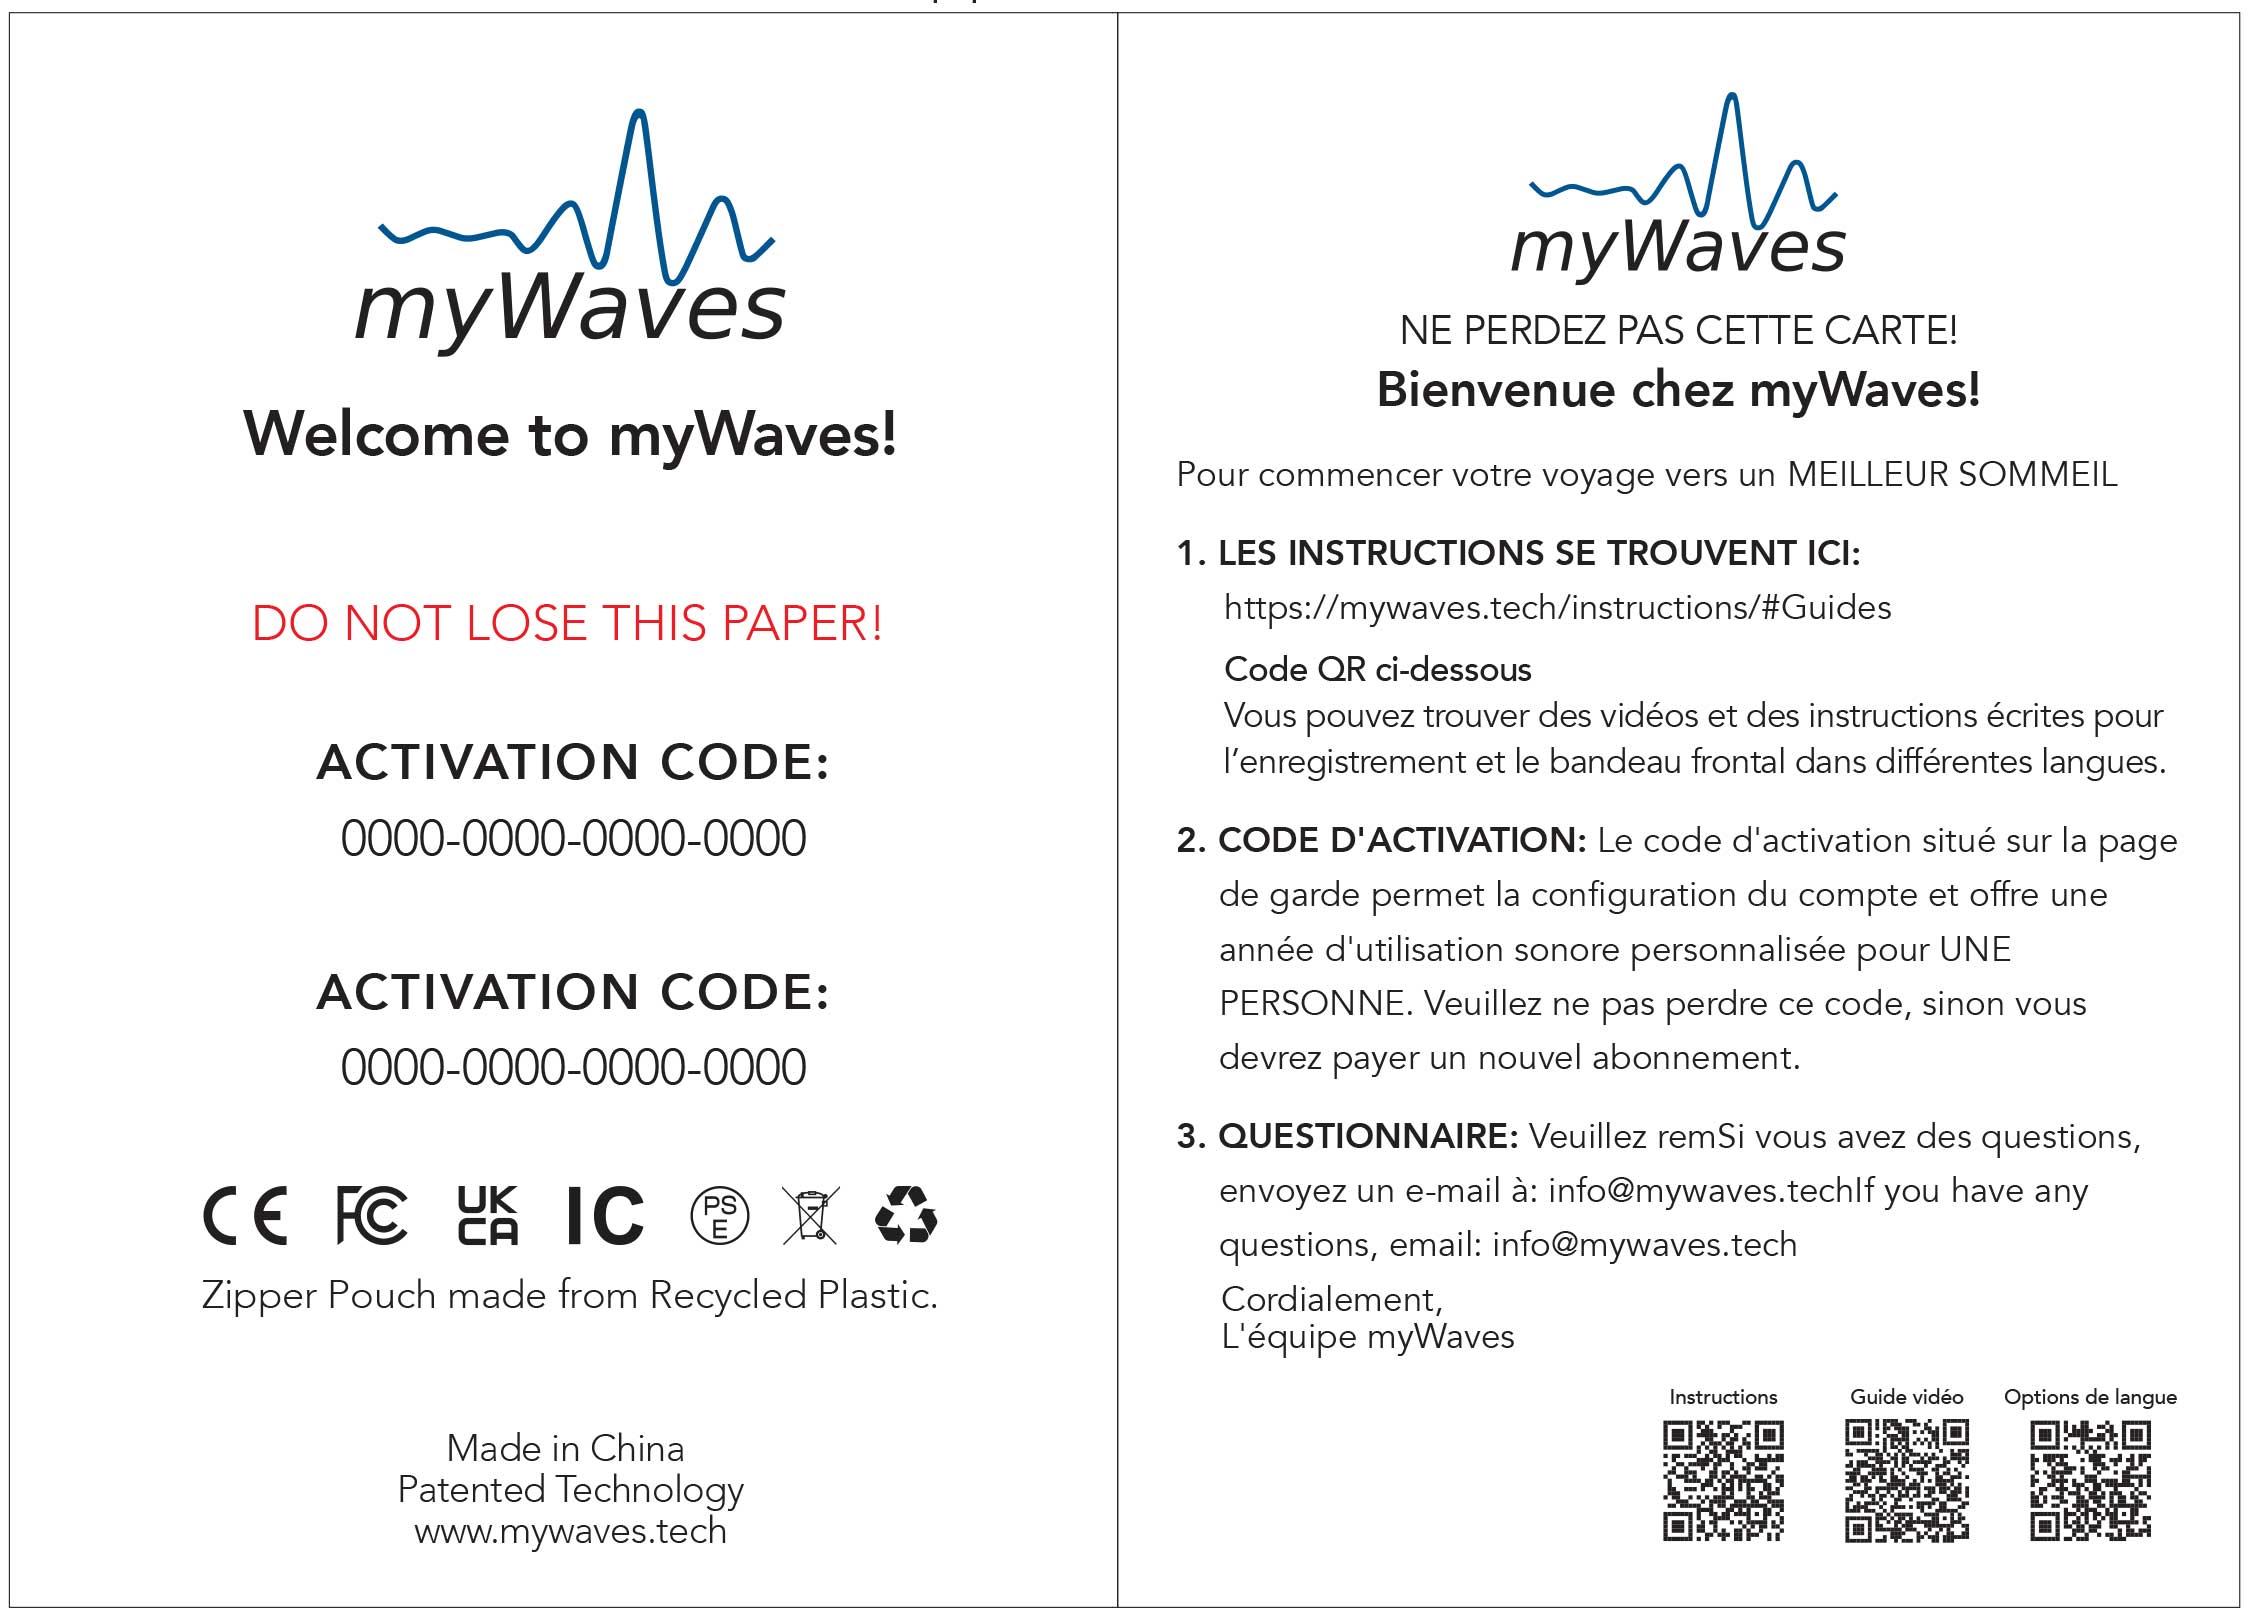
Accessibility and Convenience

Ensuring Easy Access for All Users:

Instructions are available in a downloadable PDF format and in multiple languages to cater to our diverse user base.

How to use your mobile to get your personalized sound

Guide for an iPhone

Guide for an android (Coming Soon)

Frequently Asked Questions (FAQs)

First, ensure that you are using the correct USB-C cable provided in the box. If the Pebble still doesn’t charge, check your power source. If charging from a computer, remember that the light indicators will be Blue/Red, changing to Blue/Green when fully charged.

A proper connection is indicated by a tight fit between the Pebble and the adhesive pad snaps. If there’s a white light on the Pebble, it means the adhesive pad is not properly connected. Recheck the connection to ensure it’s secure.

A flashing light indicates there was a problem with the recording during the night. In this case, review the setup process to ensure everything was correctly done and try recording again.

Connect the Pebble to your computer, locate the new myWaves folder in your file system, and select the .EDF file. Then, log in at www.mywaves.tech, go to the upload section, and follow the prompts to upload your recording.

The conversion process can take up to 30 minutes. You will see a “PROCESSING” status on the website, and an email notification will be sent once the sound is ready.

Bluetooth settings are typically found in the device’s settings menu under ‘Bluetooth’. Ensure Bluetooth is turned on, and search for “MUSIC HEADBAND” in the list of available devices to pair.

Ensure that the Pebble is correctly connected to your computer. If you’re using a Mac, the folder might be at the bottom of your Finder. For PC users, check the bottom of your file directory. If the folder is still missing, try reconnecting the Pebble.

No, the adhesive pads are designed for single use only. After use, please dispose of them responsibly, adhering to environmental guidelines.

 No, a full night’s sleep is not required. Recording for 2-8 hours is typically sufficient to generate data for creating your unique sound.

Yes, your personalized sleep sound can be played on any Bluetooth-enabled device. Simply download the sound file to the device or use Bluetooth to connect.

 If your file is too short or lacks enough slow wave data, it could mean that the recording duration was insufficient or your sleep was too fragmented. Try to ensure a longer, uninterrupted sleep period for more comprehensive data capture.

A disconnected adhesive pad can interrupt the data recording process. If you notice a white light on the Pebble, it means the pad was not properly attached. Ensure the adhesive pad is securely fastened to the Pebble and correctly placed on your forehead before sleeping.

 Ensure that the Pebble is fully charged before use. Regular charging and checking the battery level indicator can help prevent recording issues due to battery drain.

Ensure you’re uploading the file in the supported .EDF format. If you encounter a format error, double-check the file type and consider re-exporting the file from your Pebble device.


Restart your Pebble and try recording again. If the problem persists, contact our customer support for further assistance and troubleshooting.

Check the file size against the website’s upload limit. If your file is too large, contact our support team for alternative methods to upload your sleep data.

Hear from the beta testers

I have been using it for a month now, and I can’t believe how much better I sleep. I used to have trouble falling asleep and staying asleep, but not anymore. The sound files are customized to my sleep waves, and they make me feel calm and comfortable. This is the best sleep solution I have ever tried.

I was skeptical at first, but after trying myWaves for a week, I’ve noticed a huge difference in my sleep quality. I felt more relaxed and refreshed in the morning, and I had more energy throughout the day. The sound files are soothing and pleasant, and they really help me drift off to sleep. I highly recommend myWaves to anyone who wants to improve their sleep.

I love myWaves! It has changed my life for the better. I used to suffer from insomnia and anxiety, but since I started using myWaves, I sleep like a baby. The sound files are tailored to my sleep pattern, creating a harmonious atmosphere that helps me relax and unwind. myWaves is a must-have for anyone who wants to enjoy a more restful sleep.

BACKED BY SCIENCE

Meet the Founder

Hear about the epiphany our founder, neuroscientist Dr Alain Destexhe, had while on an airplane trying to get to sleep:

Play Video

COMPARISON TABLE

how we stack up

Confirm Deletion

Are you sure to delete this music record?

Confirm Deletion

Are you sure to delete this recording?

Confirm MyWaves Conversion

You are about to submit this reading to be processed into your personalized MyWaves sound file.

The process will take an estimated 20 minutes, we will email you when the process is complete.